Basic Django Project Setup
Kory Hutchison - 14 May 2019
Django is a web framework that makes it really easy to get started. Their website says that “Django is a high-level Python Web framework that encourages rapid development and clean, pragmatic design.” I want to highlight how I set up my projects so that I can help you always get started very quickly.
Environment
First things first we want to make sure we set up the environment correctly. That way it’s very easy to have multiple Django projects on the same machine. And it’s especially helpful when you have different versions of Django for those projects. So what we’re going to set up is a “virtual environment”. First you’ll want to install the latest version of python from here. Move to the directory where you want to make your project and then create the virtual environment with these commands:
Then activate the environment:
After activation, you should see a (env) appear in your command prompt. That means we are now in the environment and any python libraries that we install will remain within that environment. Now let’s move on to installing Django!
Installing Django
Like I said before, this is super easy! All we need to do is this:
Now notice that I didn’t need to do pip3 this time. That’s because the virtual environment already knows that we are using python 3. Therefore, we don’t need to specify it again.
Next we will create our Django project:
This creates a folder called mysite and that folder now contains your entire Django application. Go ahead and move inside the folder and you should see a file called manage.py and a folder called mysite. In mysite you’ll see __init__.py, settings.py, urls.py, and wsgi.py. I want to quickly go over what each of these files are for.
- manage.py
- manage.py is the file that handles all Django commands. We’ll be using it later in the tutorial so you’ll be able to see a little of what it does.
- _init_.py
- __init__.py is a python file that lets python know that the folder is a python module
- settings.py
- settings.py is a very important file because it holds all of your project settings. This file can be incredibly useful when using API keys or any other custom settings for your project.
- urls.py
- urls.py is where you define all the routes of the project. This main urls.py file typically is used to direct to the other urls.py files within your apps. We haven’t reached that point yet in the tutorial, but you’ll see in a second.
- wsgi.py
- wsgi.py helps run the application. You should rarely touch this file.
So now that we’ve gone over that and we’ve got the project installed, let’s go ahead and see if it works! Make sure you are in the same directory as manage.py and then run the following command to start your local server:
After running that, you should be able to open your browser to http://localhost:8000 and see the default Django page! Note that you need to have your virtual environment activated in order for any Django commands to work. Press ^C to shut down the server, and we’ll move on to the database.
Database
I always use PostgreSQL with my projects simply because it’s what I’m familiar with, and it’s a pretty popular database. In terms of how you’ll use Django, it doesn’t matter what database you choose because of the ORM. So I’ll walk though how to set up PostgreSQL and connect it to Django.
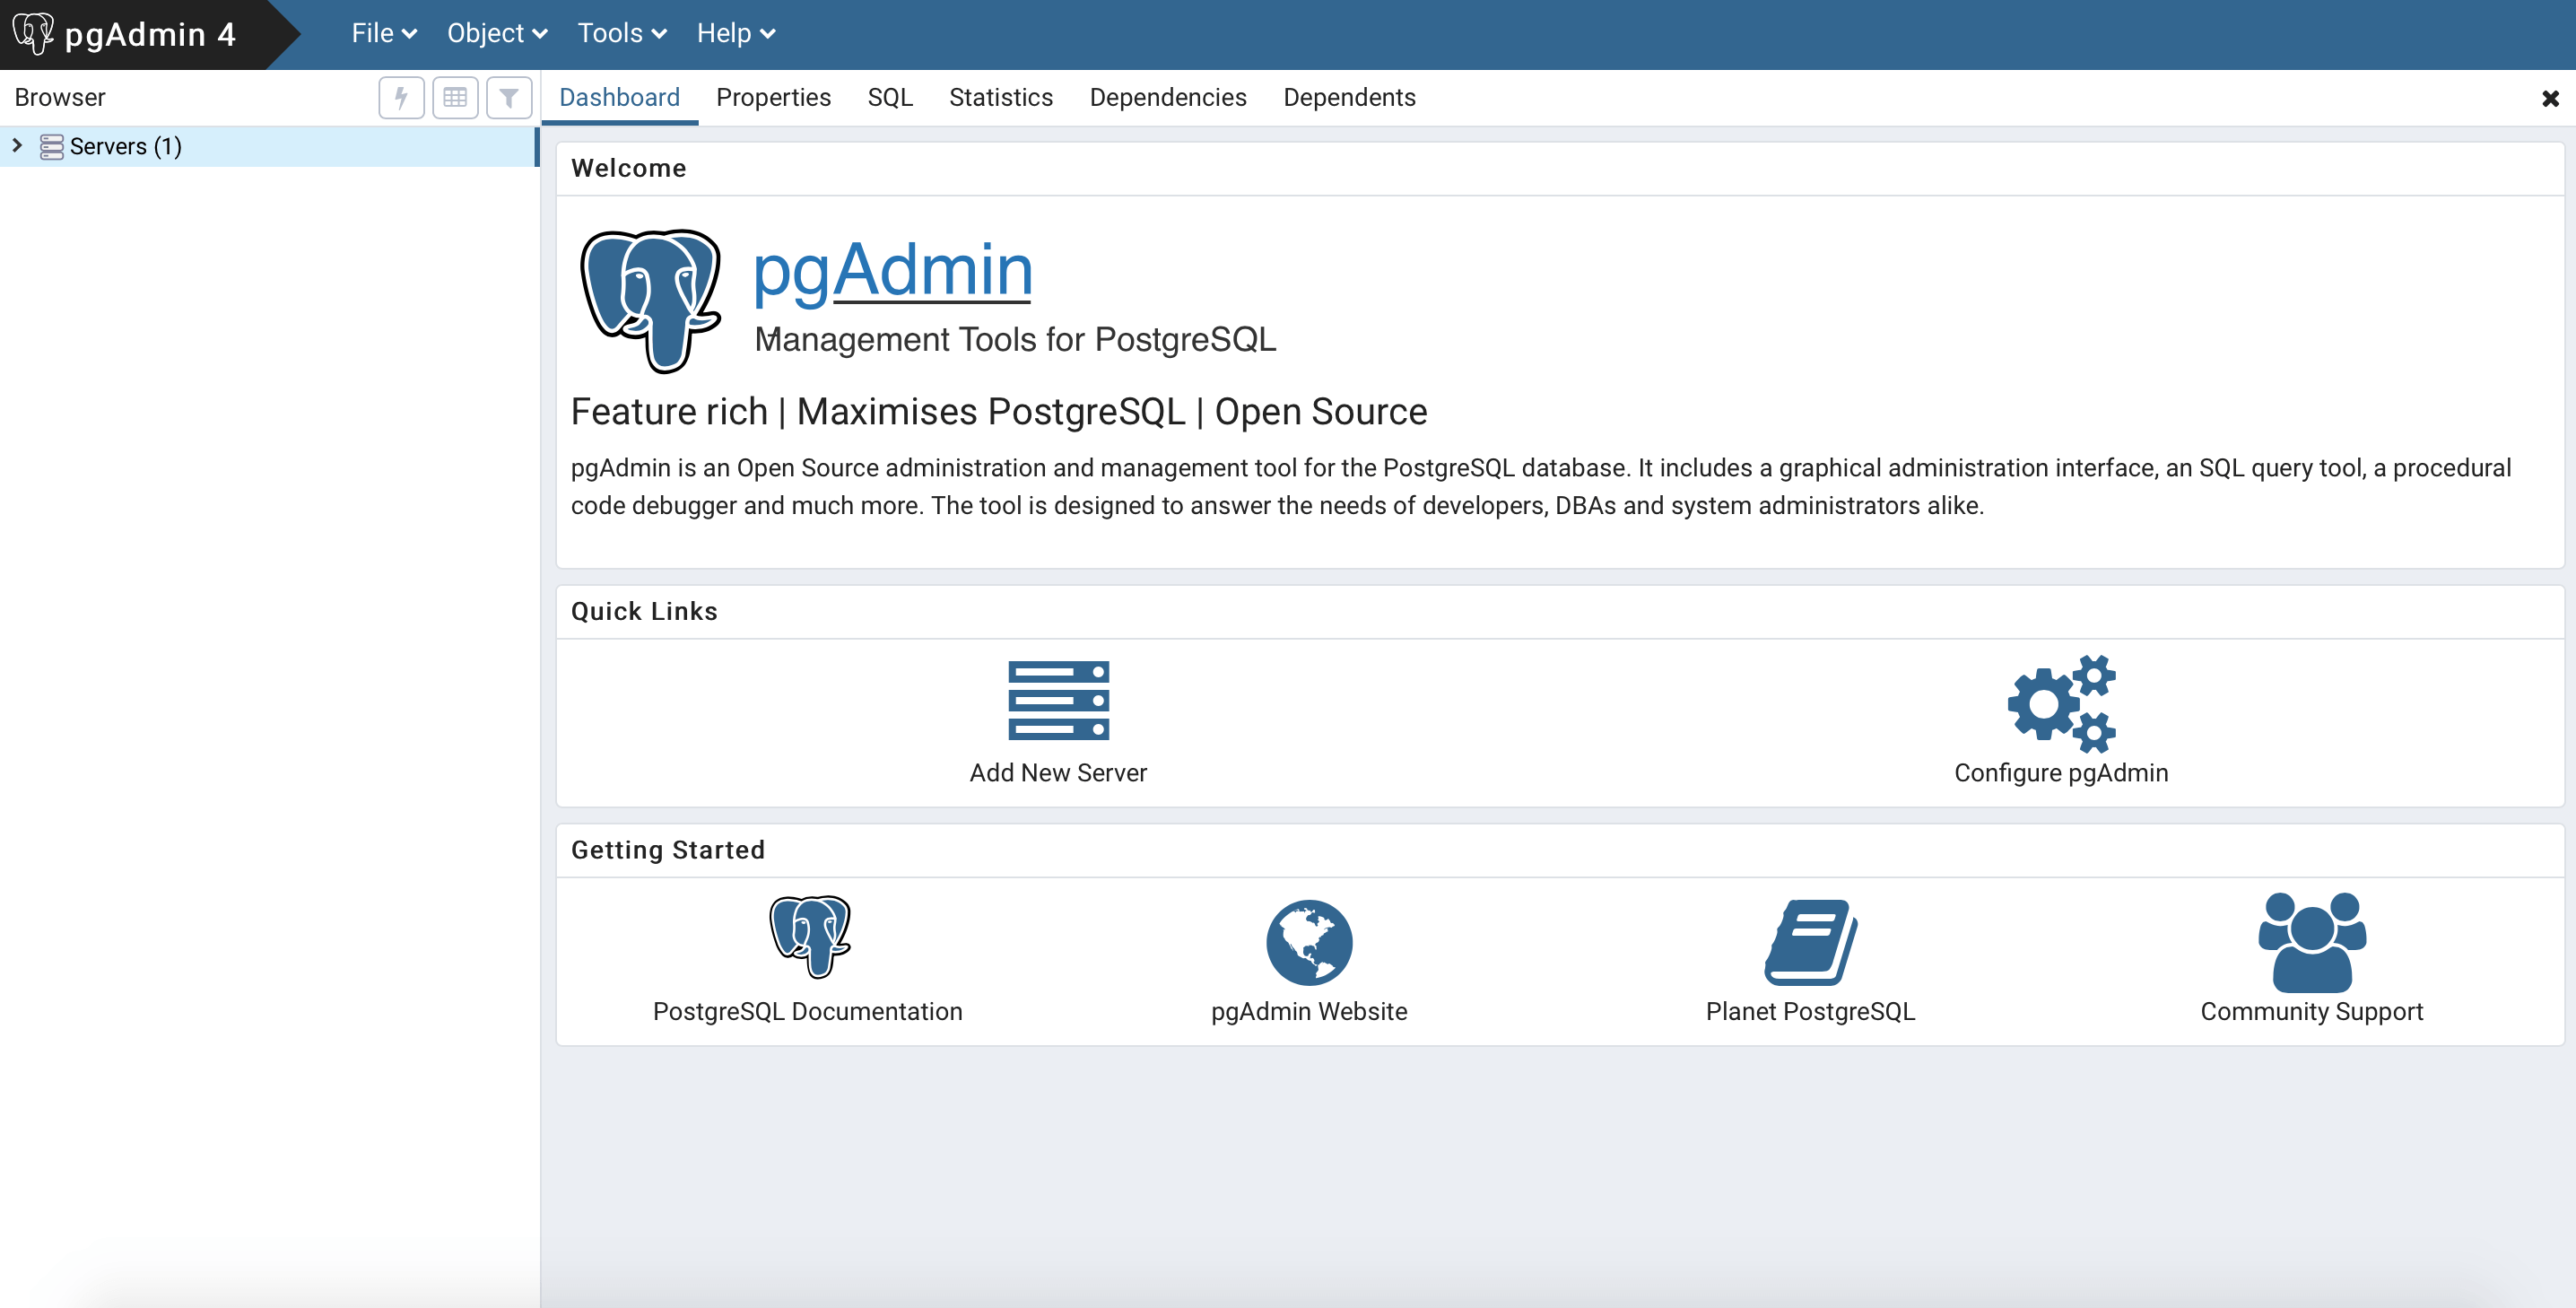
If you don’t have PostgreSQL installed, head over to https://www.postgresql.org/download/ and choose the correct operating system and go ahead and install it. I’ve normally done it through the Interactive installer by EnterpriseDB. Once you have it installed, there will be an application called pgAdmin. Open that, and you’ll see the following screen in your browser:
Click on the “Servers” drop down on the left and if you don’t have a server there, you’ll want to right click and choose create > server. Put in whatever name you want, and then put localhost for the host name under the connection tab. Once you have the server made, choose create > database. Name the database whatever you want, and set the owner to the owner you made when you installed PostgreSQL. Mine is just “postgres”, and yours probably is too.
Now that we have the database set up, now we will connect it to Django! Open up settings.py in your favorite editor (mine is atom) and scroll down to where you see a code snippet like this:
This is where you set the databases that the project will use. Right now the project comes with sqlite by default, and you can even see the database file show up in the same directory as manage.py. So what you’ll do is replace that entire code block with this:
We specify a few parameters more than what was there before. For PostgreSQL, we have to use a library called psycopg2 in order to facilitate the communication with Django. Then you specify the name of the database you just created, the user (the owner of the database), and then the password. If you are having trouble with the password, you would have created it upon server creation. Lastly we set the host to localhost because the database is on your computer, and then port to ‘’ because we are going to use the default port. Technically you don’t have to put that in there, but I like it there just in case I have to change it for deployment or something like that.
Now that we have the database settings set, all we need to do is make sure psycopg2 is installed. Go to your terminal and run this command:
After that’s installed, we should be good to go! So now what’s left is to apply the app models to the database. Run these commands one at a time:
If there are no errors, then that means it all worked! These 2 commands are for putting your models into the database. With a default Django project, there are a few models that exist that Django makes for you. So we are making the migrations, or the files that will actually execute on the database. Then migrate is what runs those files on the database. I’ll do another tutorial about how I streamline this process. But for now, that’s how you set up a Django project!