Using Siri Shortcuts with Wyze Cam
Kory Hutchison - 07 Feb 2020
I recently bought a Wyze Pan Cam, and I noticed that they work with various personal assistants, but not Siri! I know Siri isn’t the greatest, but one thing I appreciate about Apple is privacy. I know that they won’t abuse my personal data because their business model isn’t based off of that. And what a lot of people don’t know is that they’ve been improving things too! There is this new feature called “Home Automation” and it will automatically run certain shortcuts that you set up based on specific criteria. Super cool!
The main reason I got this camera was to keep an eye on my apartment. However, I don’t want it on all the time while I’m home! And it would be annoying to have to remember to turn it on all the time. So now you see my problem. Wyze doesn’t have anything like this built in. You can set certain times for things, but nothing based off location. That’s where Apple’s home automation comes in.
Home Automation
You can set up automation from 2 different apps. Either the Home app, or the Siri Shortcuts app. I believe you also need to have either a HomePod, Apple TV, or iPad set up to be your home hub in order for this to work. You can learn more here.
So if you meet this criteria, then go ahead and open up either the Home app or Siri Shortcuts and go to the Automation tab. I’ll be using the Siri Shortcuts app for the tutorial. If you haven’t yet set up a automation, you’ll be presented with a screen somewhat like this:
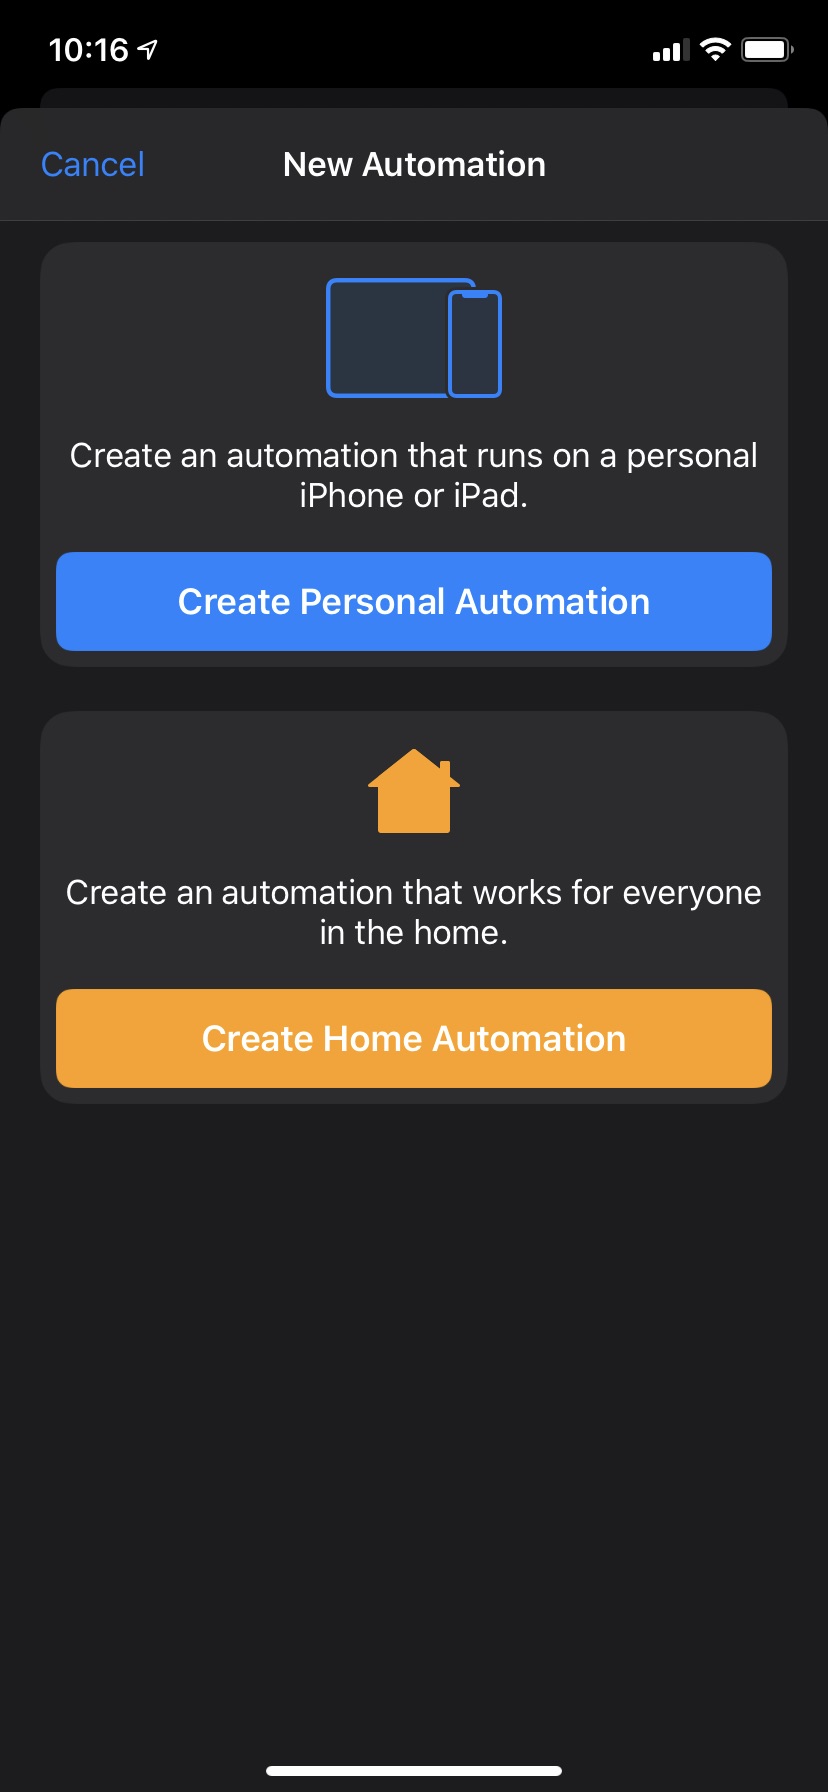
Select “Create Home Automation” and then you’ll be presented with a variety of options on how you want the automation to be triggered. Like so:

Note: The People Arrive/Leave options will only be selectable if location services are enabled for HomeKit. If they are greyed out for you, you can turn it on by going into Settings -> Privacy -> Location Services -> System Services. And then flip the switch for HomeKit.
Like I explained before, I wanted our camera to be on only while we are not home. So what I chose was “People Arrive/Leave”. That way the shortcut would only trigger when everyone leaves, and when someone arrives. Pretty cool! So go ahead and choose what you want and then go with the options that meet your needs. Click next and then choose “Convert to Shortcut”. Set your phone to the side while you set up your IFTTT Applet.
Create IFTTT Applet
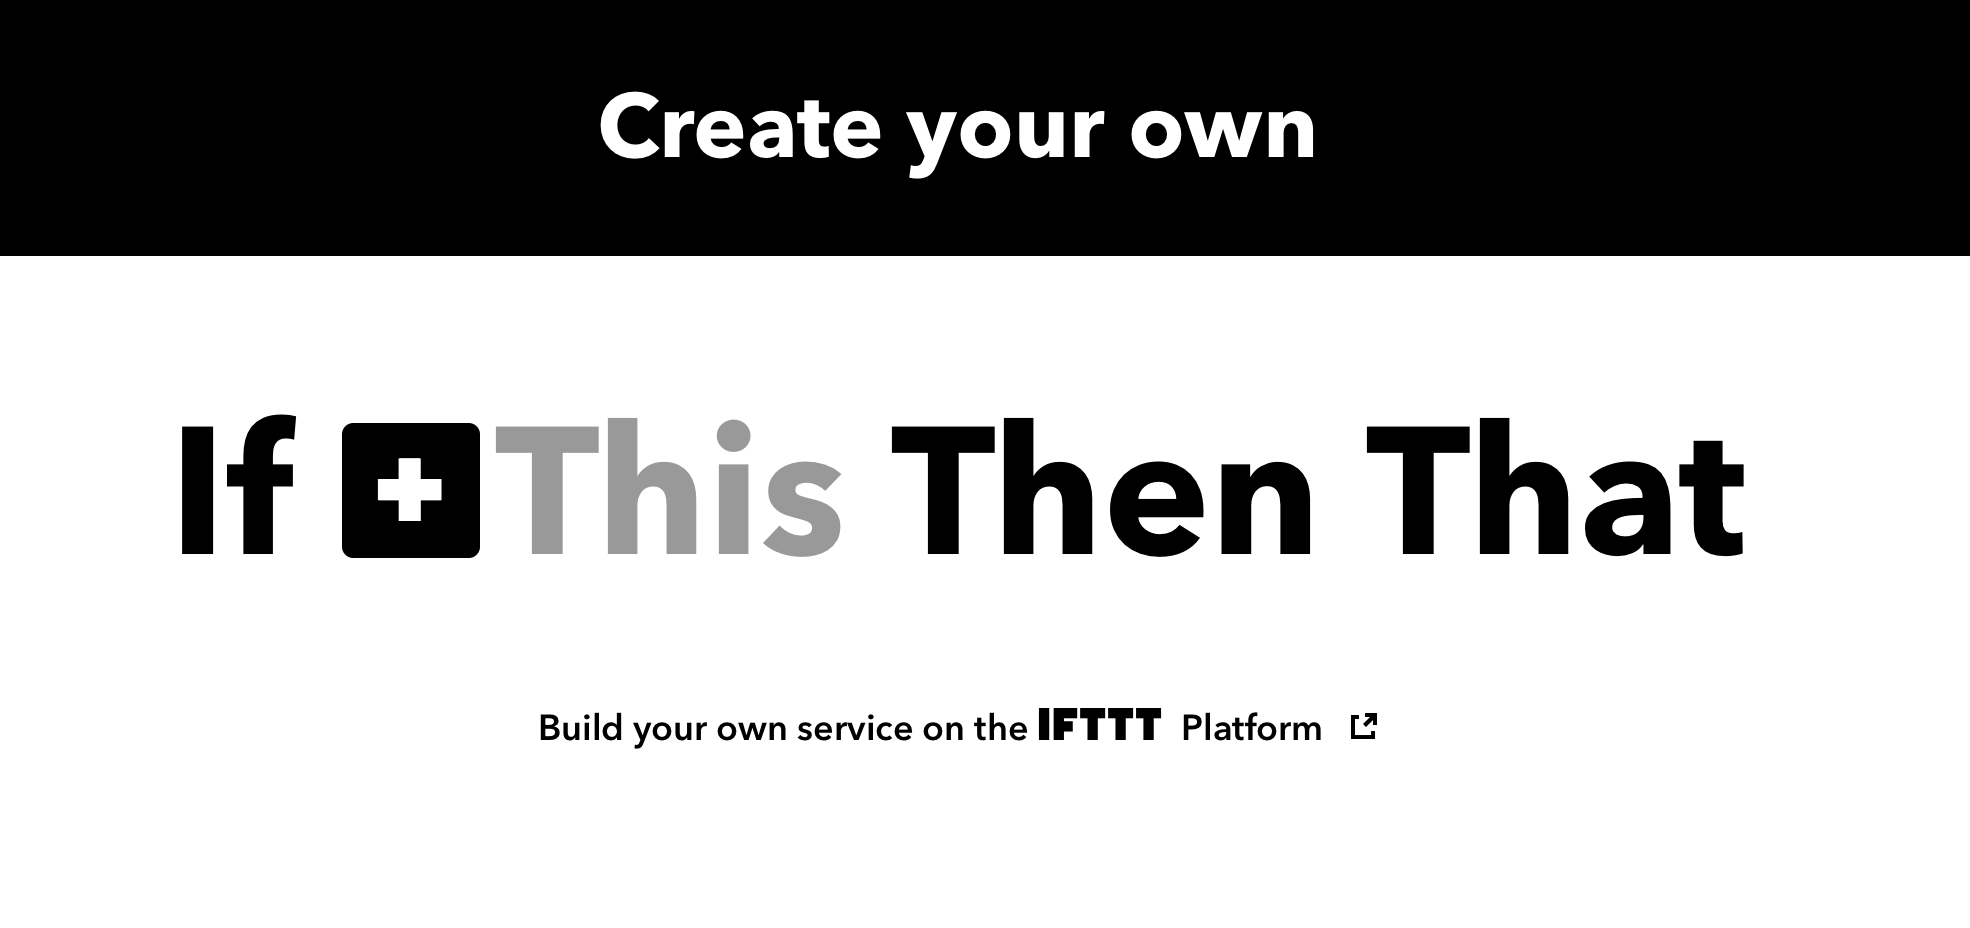
IFTTT is a really cool service that allows you to connect your accounts to accomplish things you wouldn’t otherwise be able to do. If you don’t have an account, you’ll have to create one. Don’t worry, it’s free! After creating an account, click on your avatar image and select “Create”. You’ll see a page that looks like this:
Select the +, and then search “Webhooks”. Select it and then select “Receive a Web Request”. Name it whatever you want, and click “Create Trigger”. Then select the other + and search for Wyze. Then select “Turn on device”. By this point you should have authenticated with Wyze so you will be able to see your camera or cameras. Choose your desired camera and then select “Create Action”. Name the action whatever name you desire, and then click “Finish”.
After clicking finish you’ll come to a splash screen of your finished applet. Go ahead and click on the Webhooks logo as you see in the image below:
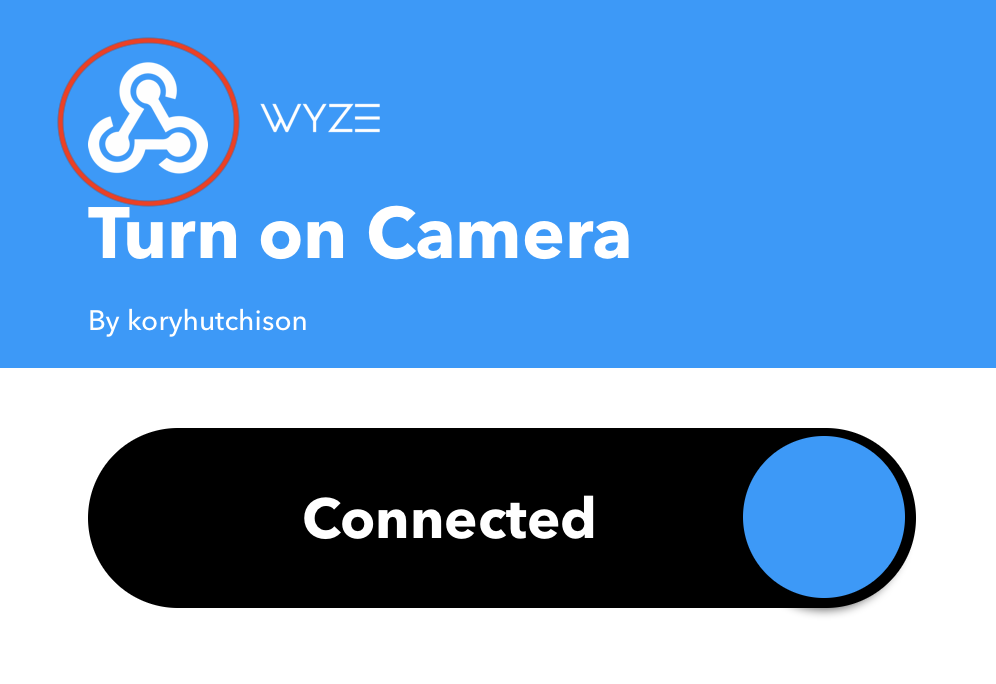
You’ll then see the main page for Webhooks. Click on the documentation button in the top right hand corner. This shows you how to trigger your webhook! As you can see, it’s really easy! All you need is to send a GET request to the URL. If you don’t know what a GET request is, it’s a simple HTTP method. Your browser uses that method whenever you go to a webpage. So for example, if I wanted to trigger my applet, I would paste this URL into my browser:
So there are 2 important parts of the URL. It’s the event name and key. My event name is “turn_on_camera”, and my key is secret. 🤫 Which means you should also keep your key secret. It’s the only thing preventing someone else from triggering your applet. If you fill in the URL with the values for you’re applet and paste it into your browser, you should see that your applet was triggered! Which would turn on your camera! Next step is to go back and finish the automation shortcut.
Configure the Shortcut
First things first, you’ll need to delete the default action in the shortcut by clicking the X in the top right corner of it. Then click “Add Action”. Search for “URL”, and select it from the actions. Now what you need to do is get the Webhooks URL for your action, and paste it in. After that, click the plus button to add another action. Next you’ll want to search for “Get Contents of URL”. Once you add that in, you’re all set! Your shortcut will now take your special webhook URL and make the request! Which will turn your camera on!
Make sure you click the “Next” button in the top right corner of your screen and then select “Done”. Now you have set up your first Siri home automation with Wyze!
Wrap up
The fact that Wyze connects to IFTTT makes it possible to integrate it with Siri. I’m sure you noticed, but there are many possibilities here! I hope that this post was helpful and will make it so you can still use Siri to control your Wyze camera!